This time, I have a model: a geeky-looking iSchool student who promised to keep still for a few hours if I promised to do her homework for the rest of the semester. So now I can get into some real sensitive detail and pass my knowledge onto you!
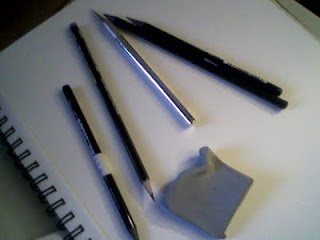
Don't worry--I won't give you a shopping list with $300 worth of unnecessary art supplies you will never use. We can keep it real here at Bibliowhining with pencils, paper, a pencil sharpener, and an eraser ONLY. If you want to get fancy, I recommend those nice woodless pencils (below) in varying degrees of hardness.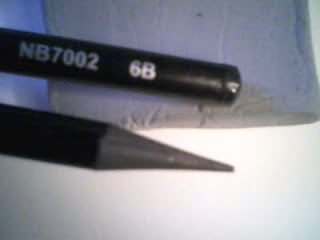
You know #2 pencils? They have a hard, light-colored "lead". A higher number means a softer, darker lead that is easier to blend and smooth around with your finger, so you can get some really nice tones and depth when drawing black hair, for example. The softer the lead, the more difficult or impossible it will be to erase it. I also recommend a soft, kneaded eraser, since it can be molded into various shapes depending on what you need to erase, and also doesn't tear up paper as much as traditional "Pink Pearl" type erasers. An X-acto knife, or just a razor blade if you're responsible, is a great pencil sharpener, as it allows for really sharp points. The tools I just mentioned run for about a dollar each, I just checked it out at the S.U. bookstore. For my drawing, I used pencils of the following level of hardness: 8B, 6B, 4B, and HB (#2). But whatever varieties of pencils and erasers you use, it's all about the patience and sensitivity you put into your work.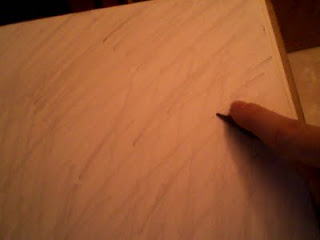
What I do first with these fancy-pants life drawings is lightly pencil over the entire surface of my paper with a hard-lead pencil. This makes the "drawing canvas" less intimidating than a white, blank sheet of paper...it's a psychological thing. Some art students would stop right there, call it a day, and make up some thesis about "aggression" or "chaos" or "process". And they would probably receive honors in their program for understanding the philosophical concepts of art-making. But we're old-schoolers, right, gang? "No pain, no gain" is my philosophy.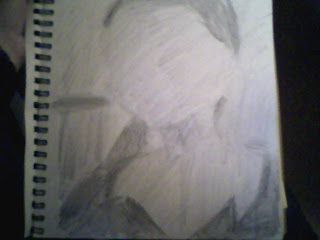
Now see what I am doing? Many people, when drawing faces, start with the most "important" features, such as eyes. But to get all the anatomy down correctly and make a nice composition as well, everything should get equal time, no matter how painful. Even those books and junk in the background. Trust me on this -- it's important to start with a few simple shapes, and just keep building the drawing equally all over. By the way, can you tell who this is just by the androgynous, 1940's fashion sense and severe black-and-white contrast? Why, it's our racially ambiguous friend Chrissy! We'll continue the drawing under the cut.
One of my art teachers once told a raunchy little joke that I always thought was obnoxious: A:How do you know when you're done having sex? Ugh. Well, I think I've engaged in enough self-abuse for the night. I don't want to overwork this thing to death like I usually do with what I draw. So, even though I know I'll look back on this drawing in a year or two and recoil in disgust at my horrid technique, this is it.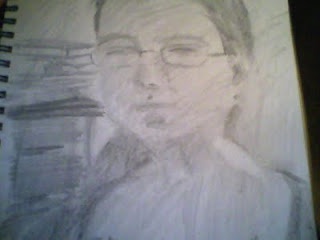
I made a mistake initially by drawing my collar too low. See how easy it is to correct since I didn't draw it elaborately at first? It's easy to correct things as you go along if you start out with simple shapes. You won't be broken-hearted like you would be if you focused on one specific part early on, "perfecting" it in fine detail. Also, have you noticed that I'm not outlining anything? In nature, there isn't a black outline drawn around everything. "Edges" are created by differences in shade between two adjacent objects. So when drawing something realistically, keep this in mind. When drawing a mouth, people sometimes draw an outline around the lips. But the foundation of a good mouth is to draw the bird -- draw that area where the lips meet as though you were drawing a bird in the sky (above), then shade under the bottom lip. Does that make sense?
 The eraser acts as a highlighter to create shiny spots. Think about the direction of light, too. If you're working with natural light, the shadows will keep changing around. So sometimes it's better to invent where the shadows would make sense to be. Don't create shadows and light shiny spots on the same plane, because that's unnatural. If you highlight something, highlight the entire plane. And same with creating shadow.
 Build up, blend, and correct when necessary...just keep following these steps. Every so often, step back and take a look at your drawing from a distance...just to make sure everything's in its place, perspective and proportion-wise.
 For really dark areas like the sweater and hair, use a soft lead like I said before. But use a light touch and keep going over the area over and over again with more layers. If you press down too hard when drawing, it will flatten the fibers of the paper and create a big, messy-looking shiny spot. The goal is to get a rich, matte darkness and a nice texture.
 I've done this before, and as a result I know and am incredibly self-conscious about each and every one of my flaws! My slight cross-eye, how low my obnoxiously-shaped ears sit, the little horizontal line that forms between my top lip and nose when I smile...I can see my signs of aging, too. I recommend getting a model who isn't yourself.
Q:How do you know when you're finished [drawing]?
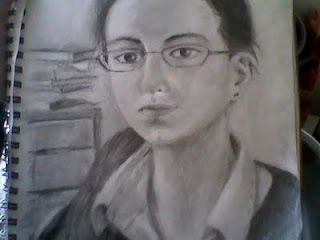
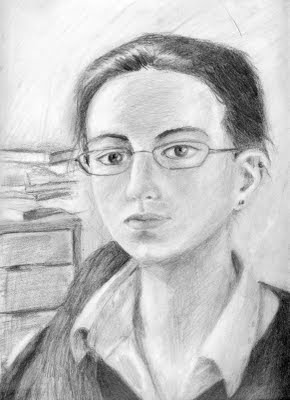
GREAT drawing, Chrissy!! I really like it -- though I don't think it looks like the you I remember, lol. :) Thanks for the neat tips! I probably will never draw as well as you, but it's awesome to have some know-how for the little sketches I do. :D
ReplyDeleteTTYL
BECCA
It's completely inaccurate, but you know what they say...those who can't, teach.
ReplyDeleteI like how the first four pictures kind of look like me (except for some long hair in the back).
ReplyDeleteThere is a family resemblance.
ReplyDeleteAmazing!
ReplyDeleteI'm oddly fascinated by your pre-game ritual of defiling the canvas. It makes perfect sense. Is that a common tactic employed by artists or a personal thing? (admittedly, I don't know anything about drawing or art in general.)
@Amy: In painting, it's standard practice to do a yellow ochre wash, then underpainting before starting to paint "for real". I haven't seen many people translate this logic to drawing with pencils, but one art teacher I had (during a summer class in Chicago) did that once in a demonstration, and I was sold.
ReplyDelete